


Why Your Pool Gate Won’t Close or Latch Properly
July 13, 2026
A pool gate that will not close or latch properly is more than an inconvenience. It can leave the pool area without a reliable child-resistant barrier and may make the installation non-compliant. A gate that drags, stops before reaching the latch, bounces open or can be pulled open without operating the release mechanism compromises the performance of the entire pool fence.
For property owners with pool fencing in Sydney, proper installation, correctly rated hardware and ongoing maintenance are important for keeping the gate working as intended. Poolsafe Fencing explains the common reasons pool gates stop closing or latching, the warning signs to look for and when adjustment, repair or replacement may be necessary.
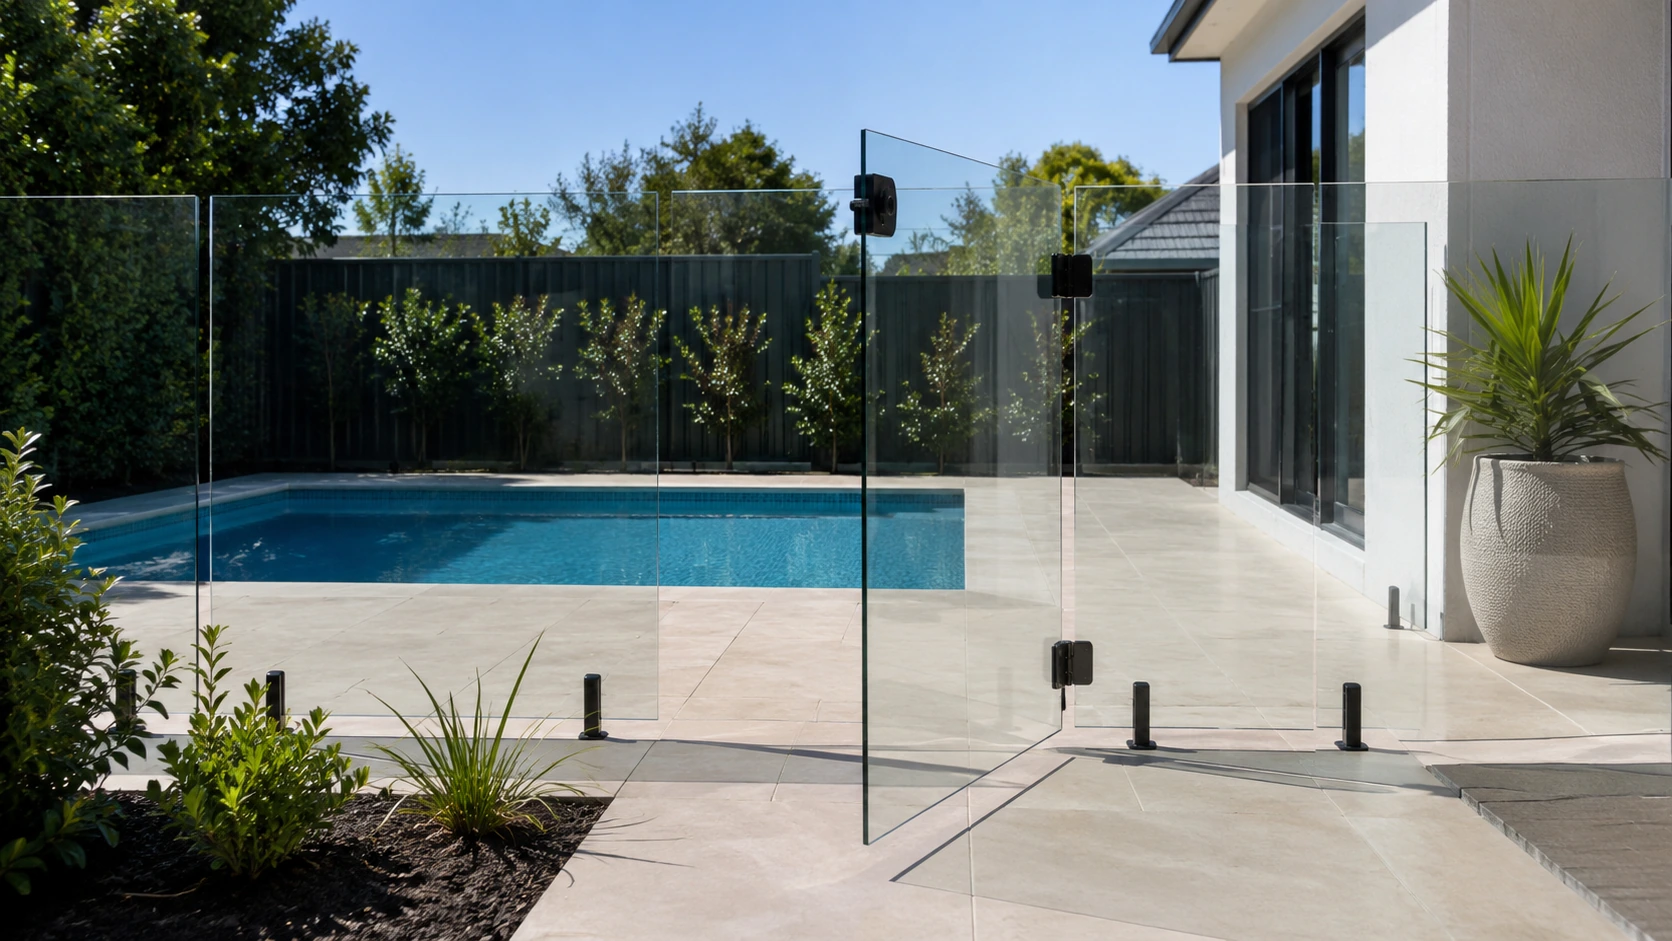
A pool gate must work automatically rather than relying on someone to pull, push or lift it into position. NSW guidance states that pool gates must open away from the pool area and be self-closing and self-latching. Current guidance also requires the gate to complete the closing and latching action from an open position without manual assistance.
If the gate only latches when it is pushed firmly, lifted or slammed, the problem should not be treated as a minor inconvenience. The gate may appear closed while the latch has not fully engaged, leaving the pool area accessible.
Common warning signs include:
These symptoms can result from a single fault, although several minor problems often develop together. For example, a slightly leaning post may place extra pressure on the hinges, causing the gate to sag and the latch to move out of alignment.
Before inspecting the hinges, latch or posts, check that nothing is obstructing the gate’s full swing. An object does not need to block the gate completely to prevent it from latching. Even slight resistance can stop a self-closing mechanism from carrying the gate through the final part of its movement.
Common obstructions include:
Move the gate slowly through its entire opening arc and look for contact with the ground, fence, landscaping or nearby objects. Pay particular attention to the last few centimetres of travel, as resistance near the latch can prevent the gate from closing fully.
Objects near a pool barrier may also create a climbing opportunity. NSW pool safety guidance requires articles, objects and structures to be kept clear of the pool fence, while council guidance identifies furniture, planter boxes, trees and shrubs as potential hazards around the barrier.
Removing an obstruction may restore gate movement, but the gate should still be tested several times to confirm that it closes and latches without assistance.
Pool gate hinges support the weight of the gate while also controlling its closing movement. Depending on the gate system, they may use tensioned springs, hydraulic components or another self-closing mechanism.
Loose fixings, worn components, corrosion and incorrect adjustment can all reduce the effectiveness of the hinges.
Hinge screws and mounting points can loosen through regular use, vibration or movement in the gate and posts. Once the hinge is no longer held firmly, the gate may drop on the latch side or twist slightly out of square.
Signs of loose or worn hinges include:
Loose fixings may be tightened where the mounting material remains sound and the manufacturer permits adjustment. However, screws that continually loosen may indicate damaged threads, deteriorated mounting material, movement in the post or a hinge that is no longer supporting the gate correctly.
Cracked, badly corroded, distorted or seized hinges should generally be replaced rather than repeatedly adjusted.
Self-closing hinges need enough controlled force to move the gate through its full swing and into the latch.
When the tension is too low, the gate may:
When the tension or closing speed is too high, the gate may:
Adjustable hinges should only be set in accordance with the manufacturer’s instructions. Spring tension, hydraulic closing speed and final latching speed may be controlled separately on some systems, so increasing one adjustment without understanding the others can make the problem worse.
After any permitted adjustment, the gate should be tested from several opening positions to confirm that it closes firmly but without excessive impact.
Internal hinge components can deteriorate through age, repeated use, weather exposure and corrosion. A spring may lose tension, while a hydraulic closer may develop stiffness or leakage.
Possible signs of internal failure include:
A failed internal mechanism cannot usually be corrected through external alignment alone. If the hinges cannot close the gate consistently after the gate, posts and latch have been correctly aligned, replacement may be required.
Self-closing hinges are designed to operate within particular gate dimensions and weight limits. A gate that is too heavy for its hinges may close slowly, sag or place excessive pressure on the post and mounting points.
This can occur when:
Continually increasing hinge tension is not a reliable solution if the gate exceeds the hardware rating. The hinge specifications, gate size, gate weight and fixing method need to be assessed together.
The gate, hinge post, latch post and latch components must remain aligned for the self-closing and self-latching systems to work together. Movement of only a few millimetres may be enough to stop the latch tongue from entering the striker correctly.
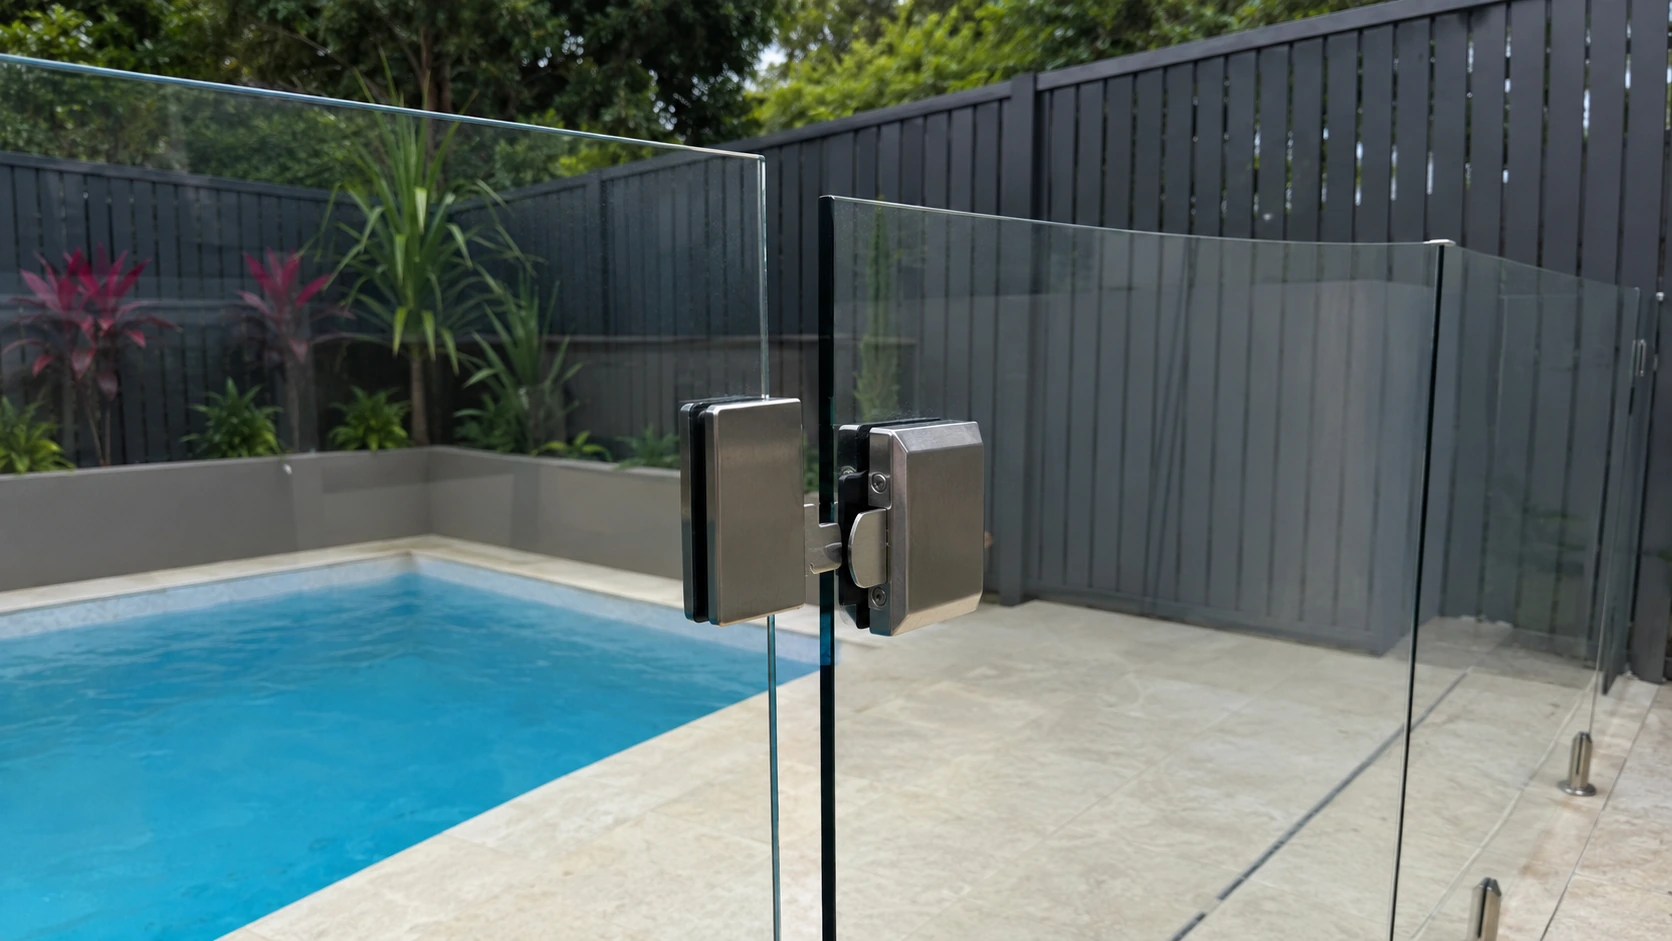
Gate sag occurs when the latch side sits lower than the hinge side. It may be caused by loose hinges, an out-of-square gate frame, excessive gate weight, movement in the hinge post or deterioration at the fixing points.
Typical signs include:
Before adjusting the latch, the cause of the sag should be identified. Moving the latch to suit a sagging gate may provide a temporary improvement, but the alignment problem is likely to continue and may place further stress on the hinges.
A pool gate cannot remain aligned if either supporting post has moved.
Posts may shift because of:
A leaning hinge post changes the gate’s swing and may cause it to bind or drop. A leaning latch post moves the striker away from the latch tongue or places it at an incorrect angle.
Look for:
Adjusting the latch cannot correct an unstable post. Minor fixing problems may be repairable, while significant movement may require the post to be reset or replaced. Structural post repairs should be completed using a method suitable for the fence system, footing and surrounding surface.
For the gate to latch correctly, the latch tongue must meet the striker at the correct height, distance and angle.
Misalignment may cause the latch tongue to:
Close the gate slowly while watching where the latch tongue meets the striker. This can help determine whether the problem is vertical, horizontal or related to the gate’s angle.
Some latch and striker systems provide slotted fixing holes for minor adjustment. Where adjustment is permitted, both components should remain securely fixed and positioned according to the manufacturer’s instructions. Improvised packing, weakened mounting points or repeated drilling can reduce the strength of the connection and may not provide a dependable repair.
If the latch has moved because the gate or post is unstable, the underlying movement should be corrected before the latch is repositioned.
The release mechanism must be positioned so that a young child cannot readily operate it. Current NSW council guidance commonly describes a release height of 1.5 metres above ground level unless an approved shielding arrangement is used. However, the precise requirements applicable to a pool can depend on the barrier’s age, design and the standard under which it was installed.
The NSW Swimming Pools Regulation recognises that different versions of the pool barrier standards may apply to older barriers, provided they continue to meet the applicable requirements and have not been substantially altered or rebuilt.
For this reason, a latch should not be moved simply to make alignment easier without checking the requirements that apply to the installation. Moving the release too low, removing shielding or creating access through the fence may introduce another compliance problem.
A latch can fail even when the gate and posts appear correctly aligned. Internal springs, magnetic components, release mechanisms and plastic or metal housings can wear or become damaged.
Signs of latch failure include:
A small amount of dirt may make a latch stiff, but lubrication will not repair a cracked housing, weakened internal spring, damaged magnet or worn tongue.
Where a latch can be opened without using its intended release mechanism, it should be treated as defective. Replacement hardware must be suitable for pool gate use and compatible with the gate material, thickness, weight and existing post arrangement.
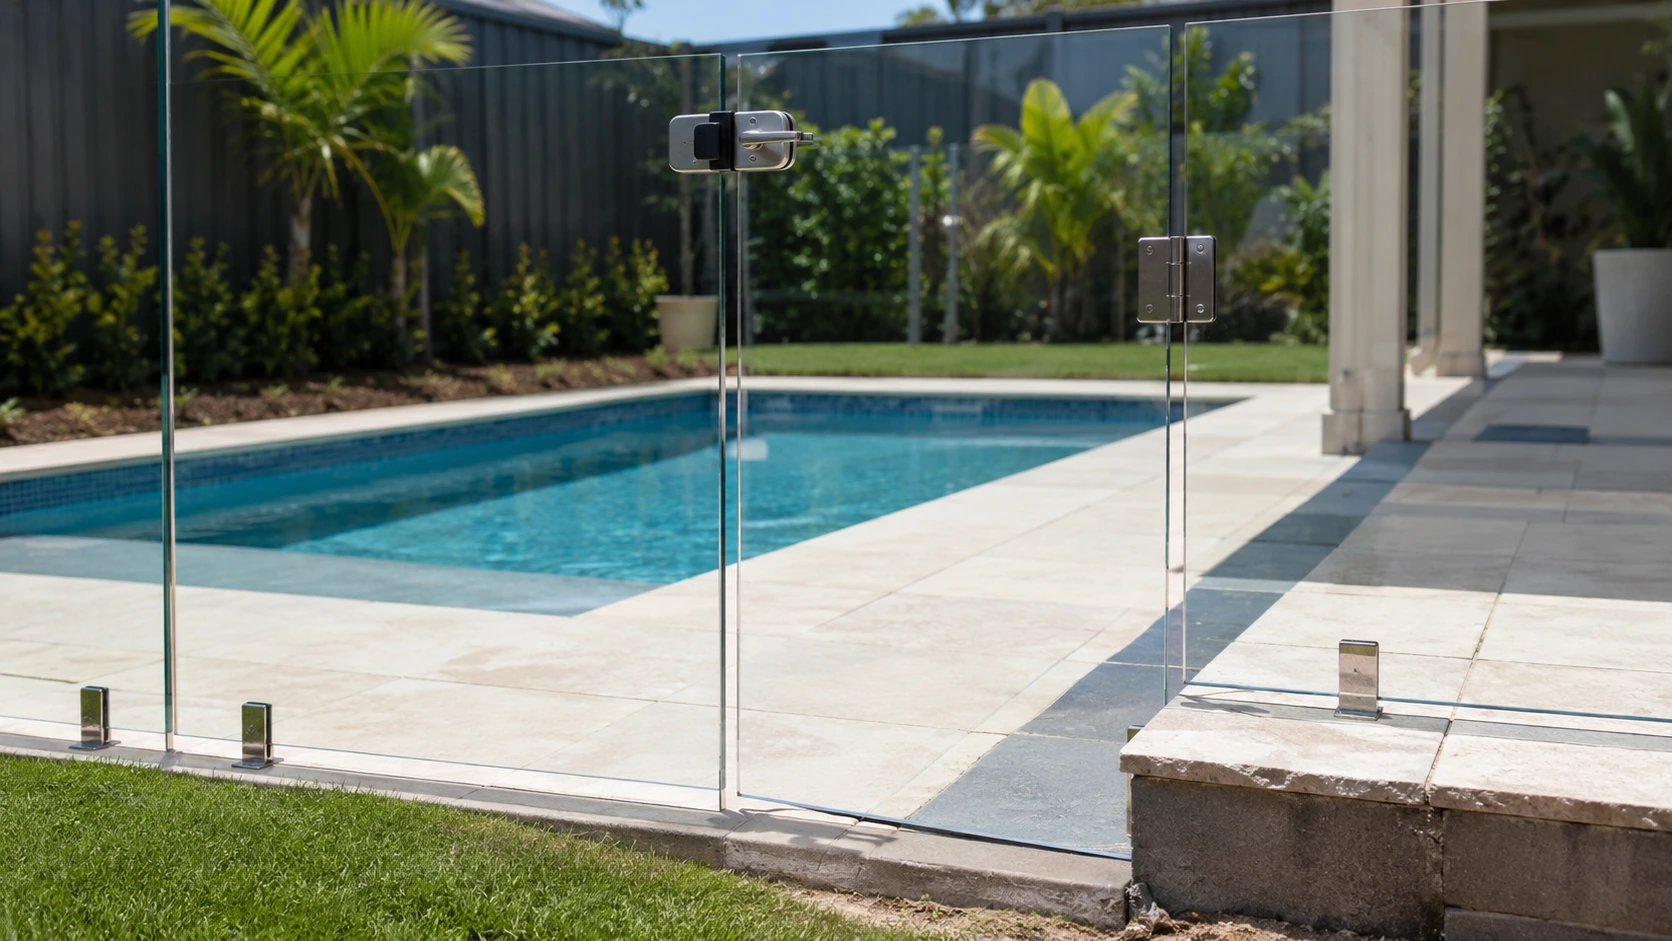
Changes in soil, paving, concrete and decking can affect a pool gate even when the hardware remains in good condition.
Clay soils can expand and contract as moisture levels change. Tree roots can lift paving or place pressure on footings. Decking may move as timber responds to moisture, while pavers can settle or rise over time.
These changes may cause:
Inspect the surface beneath and around the gate for raised pavers, cracked concrete, loose deck boards, soil buildup or changes in level. Also compare the position of the gate with the adjoining fence panels to determine whether the gate has moved or the surrounding ground has changed.
The clearance around the gate should be sufficient for unobstructed movement while remaining within the requirements that apply to the pool barrier. A universal gap should not be assumed because the appropriate clearances depend on the barrier system and applicable standard.
Current NSW guidance states that openings beneath or within a pool barrier must not exceed specified limits, but this does not mean every gate should simply be adjusted to the maximum permitted gap. The manufacturer’s installation requirements and the relevant pool barrier standard must also be considered.
Where paving or ground movement is causing the problem, repeatedly adjusting the hinges or latch may only provide a temporary solution. The surface, footing or post movement may need to be corrected first.
Pool gate hardware is exposed to rain, irrigation, humidity, airborne salt, pool chemicals and general outdoor debris. These conditions can gradually interfere with hinges, latches and fixings.
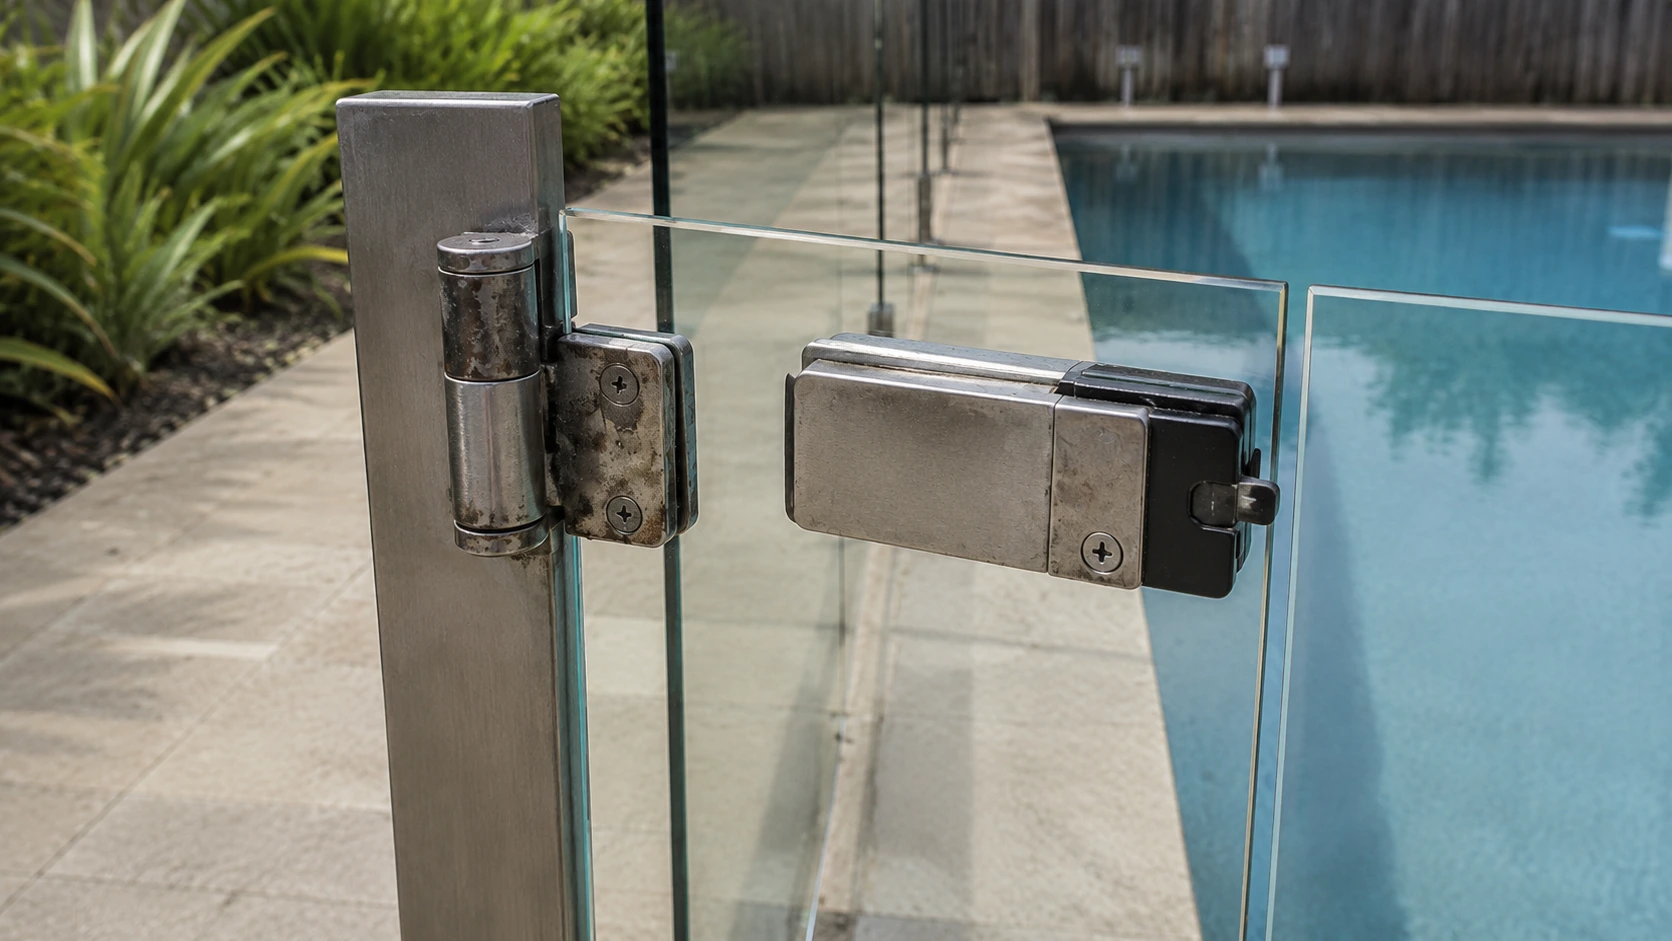
Corrosion on moving parts can increase friction, weaken components and interfere with alignment.
Check for:
Surface staining does not always mean a component has structurally failed, but corrosion that affects movement, strength or adjustment should not be ignored.
Hardware near the coast or regularly exposed to pool water may require closer attention. Replacement components should be suitable for the environment and compatible with the surrounding materials to reduce the risk of further corrosion.
Dust, sand, leaf fragments, insects and other debris can collect around the hinges and latch. Fine particles may enter moving components or build up around the striker.
This can:
The hinges and latch can be inspected visually and cleaned according to the hardware manufacturer’s recommendations. Loose debris may be removed with a soft brush or cloth. Some systems may allow gentle rinsing, although enclosed hydraulic or mechanical components should not be flooded unless the manufacturer confirms this is appropriate.
Where lubrication is permitted, use the type specified for the hardware. Heavy grease and unsuitable oils can attract dirt or damage plastic, seals and coatings. Lubrication should not be used to conceal a damaged, corroded or failing component.
Once visible obstructions have been removed and any appropriate maintenance or adjustments have been completed, the gate should be tested carefully.
A practical test includes:
NSW council guidance states that pool gates must be fully self-closing and self-latching from an open position, including when resting close to the latch. The gate should therefore be tested from more than one wide-open position.
A gate that passes one test but fails another is not operating reliably. Changes in wind, temperature or ground conditions may expose a fault that is not obvious during a single test.
A pool gate becomes a compliance concern when it cannot perform its required closing and latching functions consistently.
Problems that require attention include:
NSW pool owners are responsible for maintaining the safety of the pool area and meeting applicable fencing requirements. The pool barrier standards that apply can vary according to when the pool or barrier was installed and whether it has since been substantially altered or rebuilt.
During an inspection, a gate that does not self-close and self-latch can contribute to a certificate of non-compliance. NSW regulations require an owner to be informed of the reasons an inspected pool does not meet the requirements and the work needed to address those issues.
Because the applicable requirements can differ between installations, uncertain latch heights, clearances, barrier layouts or older gate designs should be checked by an appropriately experienced pool fencing professional, certifier or local council.
Adjustment or component repair may be appropriate when:
Repairs should restore the gate’s complete operation rather than only making the latch easier to engage. The gate, hinges, posts, latch and surrounding clearances need to work together as one system.
After repair, the gate should self-close and latch repeatedly without being pushed, lifted or slammed.
Replacing the hinges or latch may be the most reliable option when:
New hardware must be selected for the particular gate rather than solely by appearance. Compatibility with the gate material, frame dimensions, weight, mounting arrangement and environmental exposure should all be considered.
Replacing only one component may not solve the problem if the posts are leaning or the gate frame is warped.
Full gate replacement may be necessary when:
Where posts have moved significantly or adjoining panels no longer provide a stable opening, replacing the gate alone may not be sufficient. The affected post, panel or footing may also need to be repaired or replaced.
For older barriers, substantial alteration or rebuilding can affect which pool barrier requirements apply. The proposed work should therefore be assessed before major changes are made.
A pool gate that will not close or latch properly may be affected by worn hinges, incorrect tension, gate sag, post movement, latch misalignment, ground changes, corrosion, debris or an obstruction in the swing path.
Some problems can be resolved through cleaning or minor manufacturer-approved adjustment. However, unstable posts, damaged hardware, structural corrosion, a warped frame or persistent misalignment usually require professional repair or replacement.
The gate should close and latch automatically every time it is released. Addressing faults as soon as they appear helps protect the performance of the entire pool barrier and reduces the risk of the gate being left unsecured.

