


What Needs to Be Measured Before Installing Glass Pool Fencing?
July 10, 2026
A successful glass pool fence installation begins with an accurate site measure. Before glass panels are manufactured or fixing points are drilled, the fence line, finished surfaces, gate position, panel layout and surrounding features must all be assessed carefully.
Poolsafe Fencing understands that even a small measuring error can affect panel alignment, gate operation and compliance. Because toughened glass is manufactured to specific dimensions and cannot be cut to size on site, identifying potential issues before materials are ordered helps prevent replacement costs, installation delays and unsuitable gaps.
This article explains the main measurements required before installing glass pool fencing in Sydney and why a professional site assessment is an important part of the process.
The first stage is to establish where the pool barrier will be positioned. This requires more than measuring the pool shell or calculating the total number of linear metres.
The proposed fence line must work with the entire pool area, including access paths, existing structures, landscaping and the way people will move between the house and pool.
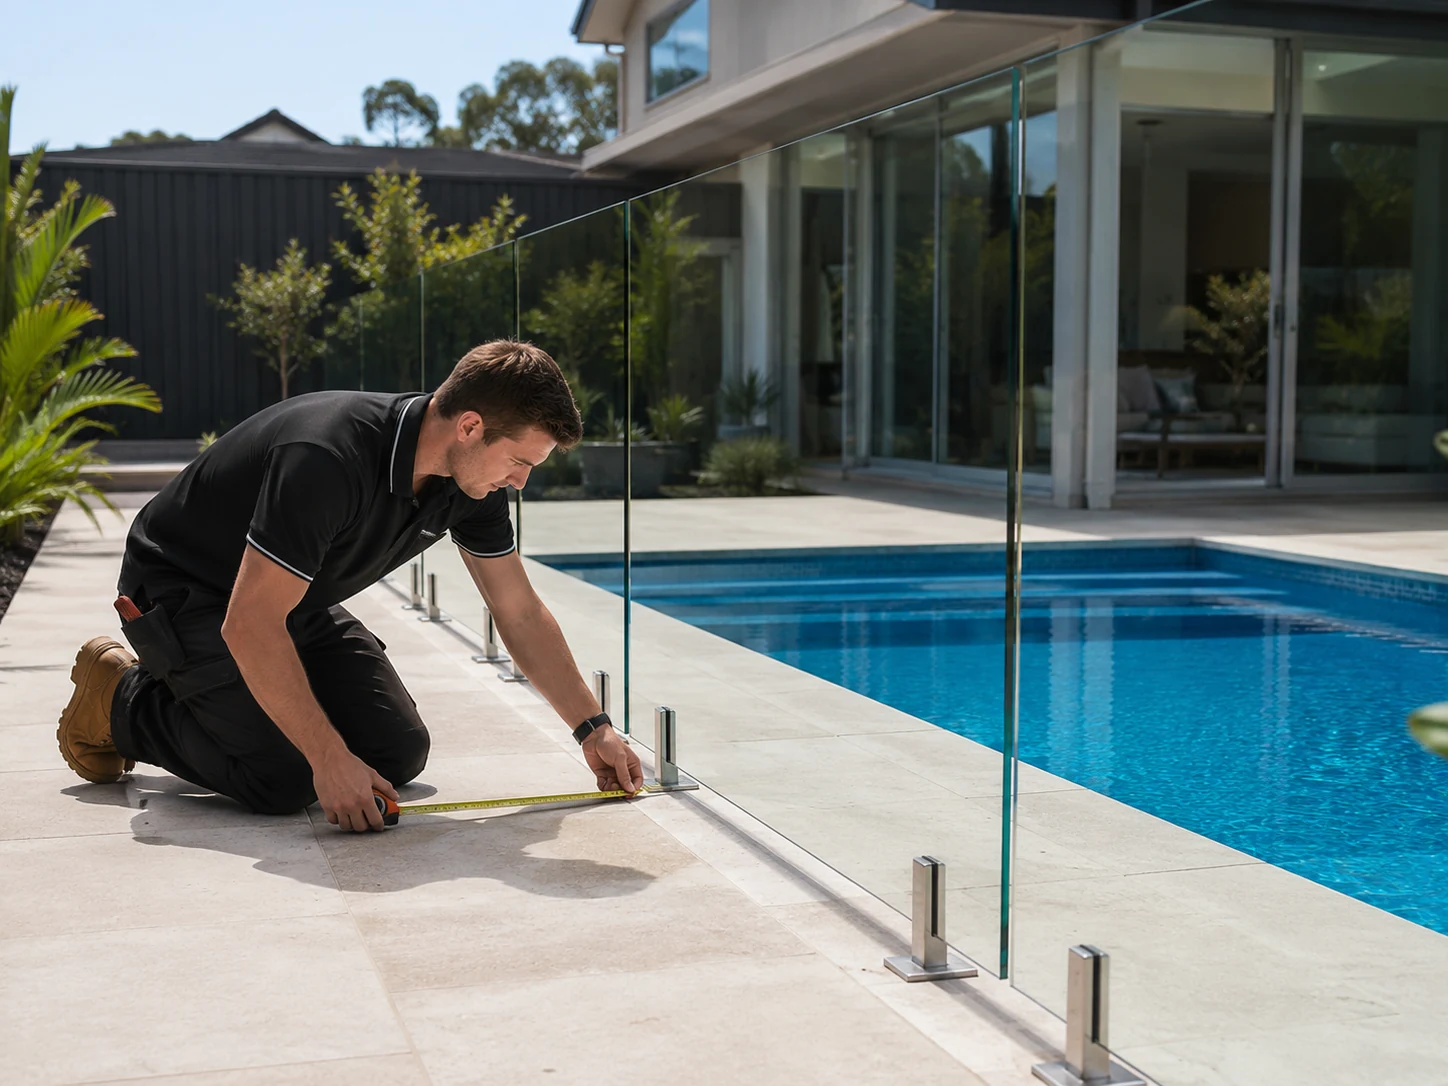
The site measure should record the full footprint of the pool and surrounding surfaces. This includes the position of:
These measurements help determine where the barrier can be installed without restricting access or creating avoidable compliance concerns.
Any feature that interrupts a straight fence run should be measured from a fixed reference point. This allows the installer to determine whether the fence will turn around the obstruction, connect to it or require a specially sized panel.
Once the surrounding area has been mapped, the proposed alignment can be marked on the ground. A string line, laser or temporary markings may be used to show where the centre of the barrier will sit.
Each straight run should be measured between corners, gates, walls and other fixed points. Internal and external corner angles must also be recorded because pool areas do not always follow exact 90-degree lines.
Non-standard angles can affect:
Marking the fence line before materials are ordered also makes it easier to identify narrow access points, potential obstructions and areas where the layout may need to be adjusted.
The intended access point should be considered during the initial layout rather than added after the panel arrangement has been decided.
The gate needs to be positioned where people can approach it safely and move through the area without colliding with doors, walls, furniture or changes in surface level. The available width must be measured carefully so there is enough room for the gate, hinges, latch and required operating gaps.
The gate position can also influence the dimensions of every other panel in the fence run. Moving it even a short distance may change the number of standard panels required or create the need for custom glass.
Surface levels are among the most important measurements in a glass pool fencing project. A fence that appears level from a distance may cross paving falls, steps or raised areas that change its effective height and the required panel layout.
Measurements must be based on the completed surface rather than unfinished concrete, structural decking or compacted ground.
Finished surface level refers to the surface that will remain after construction is complete, such as tiles, pavers, concrete or timber decking.
Where these finishes have not yet been installed, their planned thickness must be confirmed and added to the site measurements. This may include:
A laser level or builder’s level can establish a consistent reference point across the pool area. The level at each proposed spigot, post or channel position can then be recorded against this reference.
This process identifies high and low points that may affect the barrier height, ground clearance or alignment between panels.
Pool surrounds usually include a gradual fall so water drains away from buildings and does not collect around the pool. Although these slopes may be difficult to see, they can create noticeable changes along the bottom or top of a glass fence.
The direction and gradient of the fall should be recorded across every fence run. Where the surface changes more significantly, the design may require:
Steps, raised coping, planter beds and seating walls must also be measured because they can reduce the effective height of the barrier from the side accessible to children.
The position of the pool coping should be measured in relation to the proposed glass line. This helps maintain enough usable space for walking, cleaning and maintaining the area without creating unnecessarily narrow sections.
The installer should also record where the fence crosses from one surface to another. For example, a run may begin on a tiled concrete slab and continue across timber decking.
Different surfaces may require different supports and fixing methods. Measurements should confirm:
These details help prevent unsuitable fixings and uneven loads on the glass or supporting hardware.
The pool gate requires particularly careful measurement because it must open, close and latch reliably while maintaining the required safety clearances.
In NSW, a pool gate must generally open away from the pool area and be self-closing and self-latching. The gate must continue to operate correctly from different open positions rather than relying on someone to pull it shut.
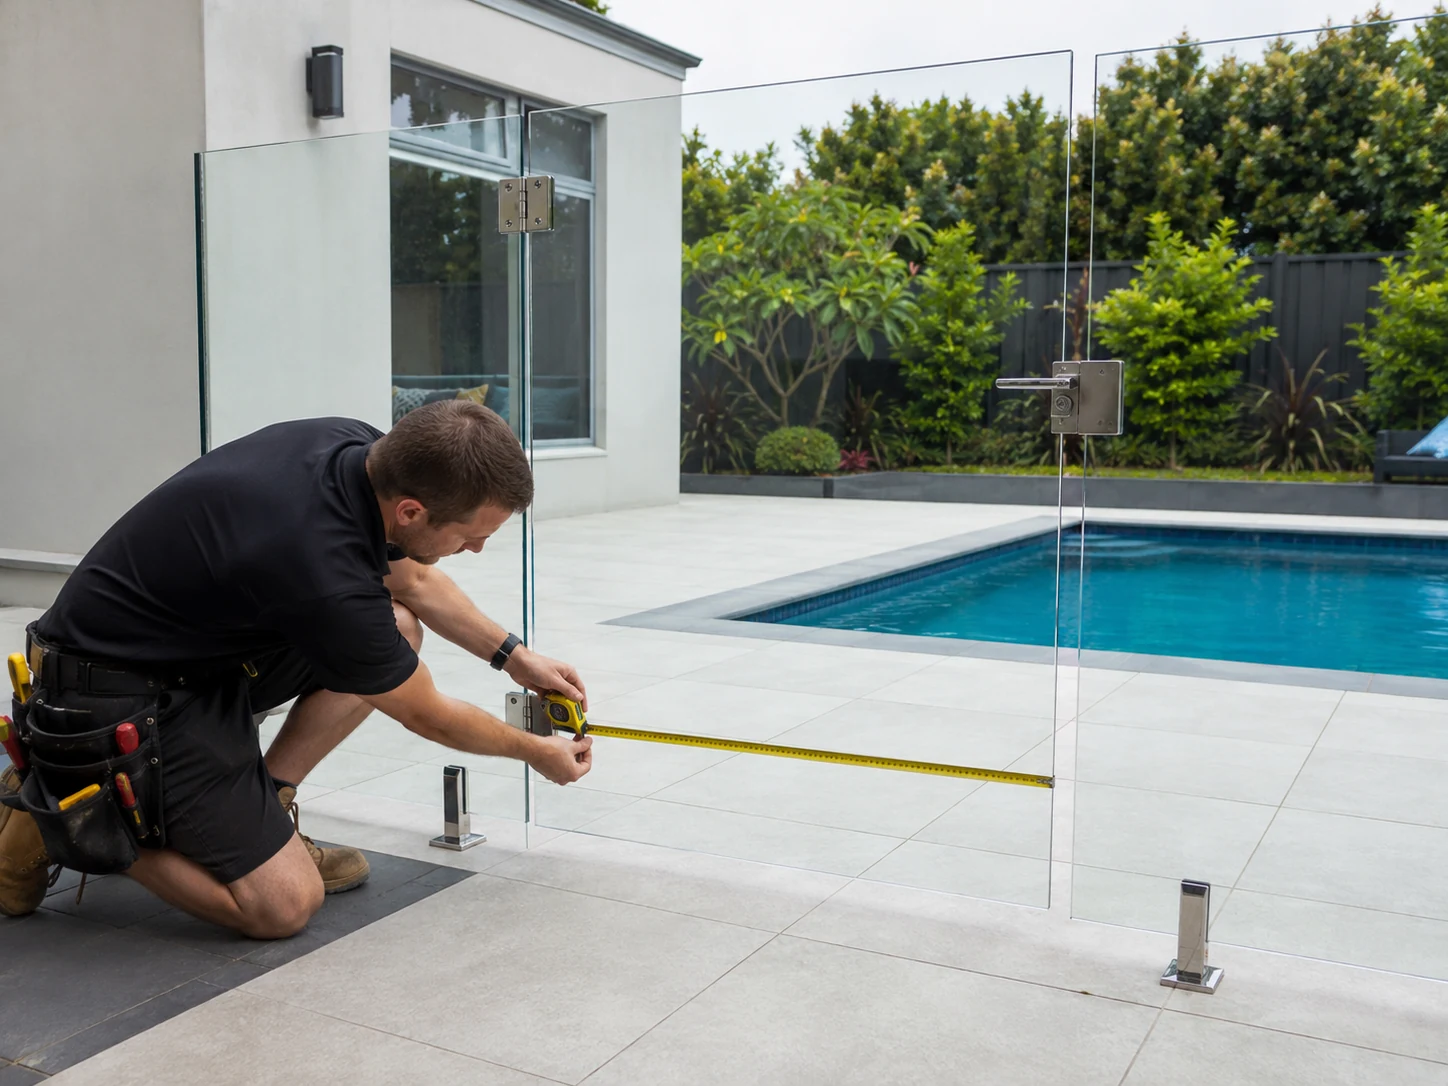
The proposed opening should be measured at the top, middle and bottom. This identifies walls, posts or support panels that are not square.
The opening must account for:
There is no single opening measurement that applies to every glass gate system. The final dimensions must be based on the selected gate, hinges and latch rather than a general standard size.
The full swing of the gate should be marked from the hinge point before the hardware position is finalised.
The swing path must remain clear of:
A high point in the paving may allow the gate to open partially but prevent it from closing smoothly. The entire swing arc should therefore be checked against the finished surface.
The gate should also be able to open far enough for practical access without the glass edge or hardware striking another structure.
Hinge and latch positions depend on the selected hardware, the gate dimensions and the supporting structure. Exact measurements must follow the manufacturer’s drilling and installation specifications.
The latch position must also satisfy the barrier requirements that apply to the property. Exposed release mechanisms generally need to be positioned beyond the reach of young children, while alternative shielded arrangements may be permitted when correctly designed and installed.
Nearby steps, raised surfaces or fixed objects must be considered because they may reduce the effective latch height or allow a child to reach the release mechanism.
Once the fence line, finished levels and gate location have been confirmed, each fence run can be divided into individual glass panels.
This stage requires careful allowance for the gaps between panels, corner connections, gate hardware and the fixing requirements of the selected system.
Each run should be measured between its fixed end points. Measurements may be taken at both the top and bottom where walls or structures are not perfectly square.
The overall length is then divided into panels that suit the site and the selected fencing system. The layout should avoid unnecessarily narrow pieces and maintain a balanced appearance where possible.
Panel calculations must allow for:
Glass panel widths and gaps vary between systems. Manufacturer specifications and engineering requirements should therefore be used rather than assuming one standard measurement applies to every installation.
Because toughened glass cannot be trimmed after manufacturing, incorrect panel dimensions usually require a replacement panel rather than an adjustment on site.
Every fixing point should be positioned before drilling begins. The proposed centreline of the fence can be marked so the installer can confirm where each spigot, post or channel will sit.
The measurement process should consider:
Fixings installed too close to a concrete edge may increase the risk of cracking. Similarly, drilling through waterproofed surfaces or into concealed services can result in significant damage.
Where glass is installed on timber decking, the visible decking boards are not normally the only consideration. The structure beneath the boards must be located and assessed to determine whether it can support the fence and gate loads.
Where the glass fence connects to a wall, column or existing barrier, the position and condition of that structure should be checked carefully.
Walls may lean, taper or contain surface finishes that affect the available opening. Measurements taken at only one height may therefore produce an incorrect panel size or an uneven gap.
The installer should also confirm that the structure is suitable for the proposed connection and that the finished barrier will not rely on unstable cladding, loose masonry or an unsuitable surface.
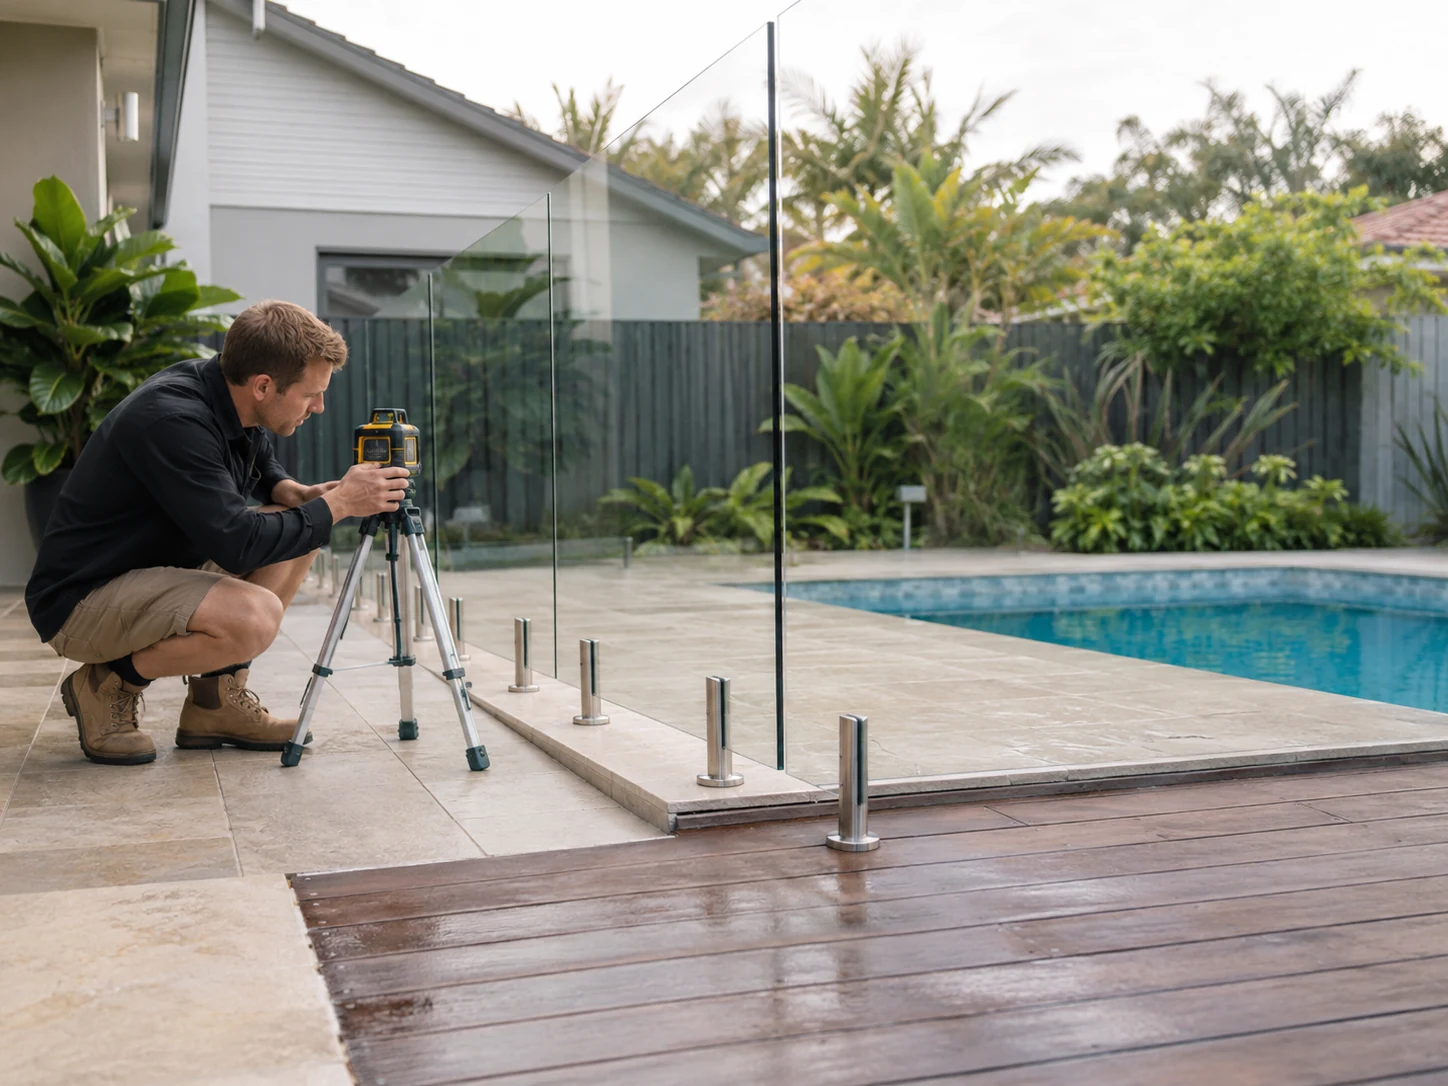
The area around the proposed barrier must be assessed for objects that could help a child climb over the fence or reach the gate latch.
This assessment should include both permanent structures and movable objects that may be placed near the barrier after installation.
Common climbing hazards include:
For barriers assessed under current NSW requirements, the non-climbable zone generally includes an area extending 900 mm outside the barrier and 300 mm inside the pool area. The exact configuration should be checked against the requirements that apply to the individual pool and barrier.
The height and distance of each potential climbing point should be recorded during the site measure. Where a feature falls within the required clear area, the fence position, barrier design or surrounding landscaping may need to change.
Plants that do not present an immediate problem may become climbable as they mature.
Tree trunks, low branches and dense shrubs should be assessed in relation to the proposed fence line. New landscaping should also allow enough space for future growth and routine maintenance.
Pruning may resolve some concerns, but relocating the fence or selecting different planting may provide a more reliable long-term solution.
Measurements must confirm that openings around the completed barrier remain within the permitted limits. This includes gaps:
Current NSW guidance generally limits openings beneath and within a pool barrier to 100 mm. Corners, slopes and uneven surfaces require particular attention because they can create tapered gaps that are compliant at one point but too large at another.
The applicable barrier requirements can depend on factors such as when the pool was built, the approvals that apply and whether an existing barrier is being substantially altered or replaced. Final compliance should therefore be confirmed for the individual property before glass is manufactured.
Accurate measurements affect the quote, manufacturing process, installation and final compliance assessment.
Unlike some other fencing materials, toughened glass cannot be cut or reshaped once it has been manufactured. A panel that is too wide, too narrow or incorrectly drilled may need to be replaced entirely.
A glass pool fencing quote is influenced by:
Initial estimates based on rough dimensions may change once a detailed site measure is completed. Accurate measurements allow the quote to reflect the actual fence configuration and reduce the likelihood of unexpected material or labour costs.
Correct dimensions allow panels and hardware to arrive on site ready for the planned layout.
This helps installers:
If the glass does not match the site, installation may need to stop while replacement materials are manufactured.
Pool barrier requirements leave limited room for measuring errors. Incorrect finished levels, unsuitable panel dimensions or poorly positioned hardware can result in:
Measuring these conditions before ordering the glass makes it easier to resolve potential issues through the design rather than after installation.
Homeowners may provide approximate measurements when requesting an initial estimate, but the final manufacturing measurements should be completed or verified by the installer responsible for the project.
A professional site measure considers more than the visible distance between two points. It assesses completed surface levels, structural fixing conditions, hardware tolerances, gate operation and the barrier requirements that apply to the property.
The site should also be sufficiently complete before final measurements are taken. If paving, decking, landscaping or retaining walls change after the glass has been ordered, the original measurements may no longer suit the finished area.
Accurate measurement underpins every stage of a glass pool fence installation. Confirming the fence line, finished levels, gate position, panel dimensions, fixing points and surrounding safety clearances before manufacturing helps prevent delays, additional costs and compliance concerns.
A detailed site assessment also ensures the completed fence follows the intended alignment, operates reliably and suits the way the pool area will be used. Having all critical dimensions professionally verified before glass and hardware are ordered provides a stronger foundation for a safe and well-finished installation.

